Get started with enjoying all your Roku has to offer by adding and deleting channels. If you need to learn how it’s done, we show you how to add channels using the Roku interface, voice control, and the Roku website.
In This Guide
Adding Channels to Roku
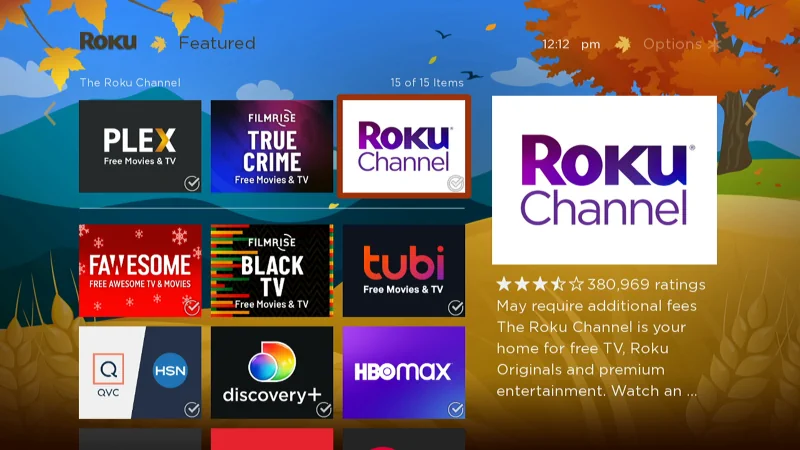
Roku Channel Store on Roku
- From the Home screen, select “Streaming Channels” in the left pane.

- Navigate to the preferred genre or list or select “Search Channels” to search.
- Select the channel you wish to install, then select “Add channel“.

Voice Search
If your Roku has voice control capability, you can follow these steps:
- Press and hold the microphone button on the remote and say “Install channel name“.
Example: “Install Hulu”.
You can also search genres using voice control. Say “genre name channels“, then select a channel.
Example: “Sci-Fi channels” - Select “Install“.
- Select “Add channel“.
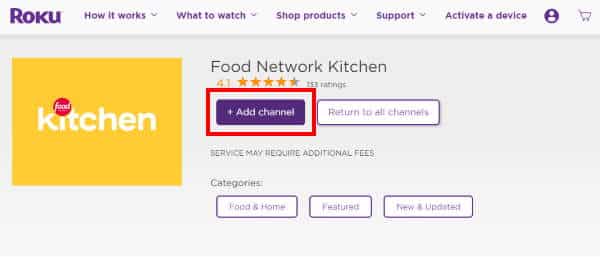
Roku Channel Store Via Web Browser
- Open any web browser, and login to roku.com with the same account you use with your Roku.
- Select the person icon at the upper-right corner of the screen, then select “Channel store“.

- Browse the lists or search for the channel in the “Search channel” box.
- Once you choose a channel, select “+ Add channel” if you wish to install it. it will then be pushed to your device.
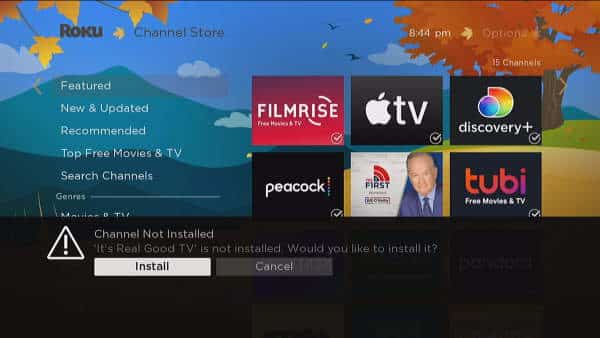
Adding Private Channels
You can find private channels for the Roku via website channel directories outside of the official Roku Channel Store. These sites provide you a code to enter to install the channel. Use these steps to add private channels:
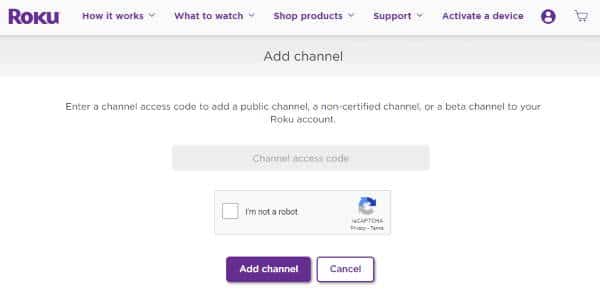
- Open any web browser, and login to https://my.roku.com/account/add and login with the same account you use with your Roku.
- Enter the channel access code, then select “Add channel“.
Deleting Channels from Roku
Free some space and get rid of channels you don’t use by removing them from your Roku device with these steps:
- From the Home screen, use the navigational pad on the remote to highlight the channel you wish to remove.
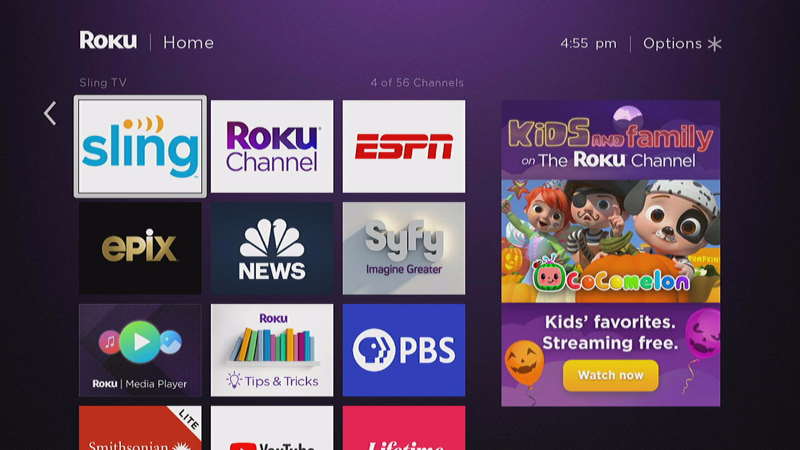
- Press the asterisk * on the remote.
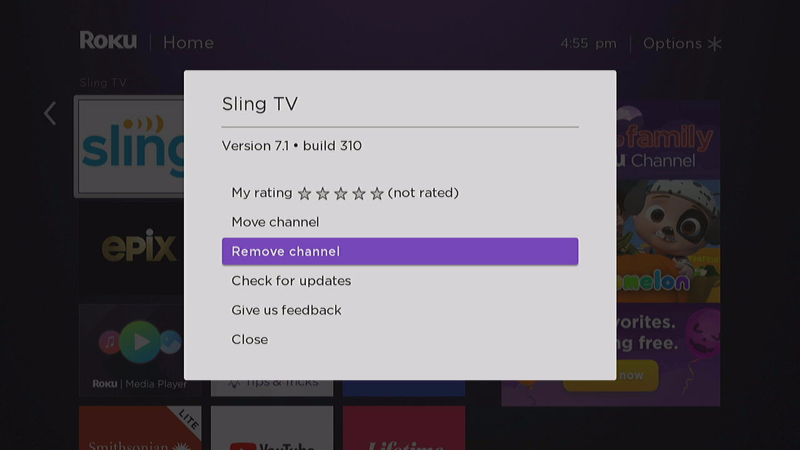
- Use the navigation pad on the remote to highlight “Remove channel“. Press “OK” on the remote to make the selection.
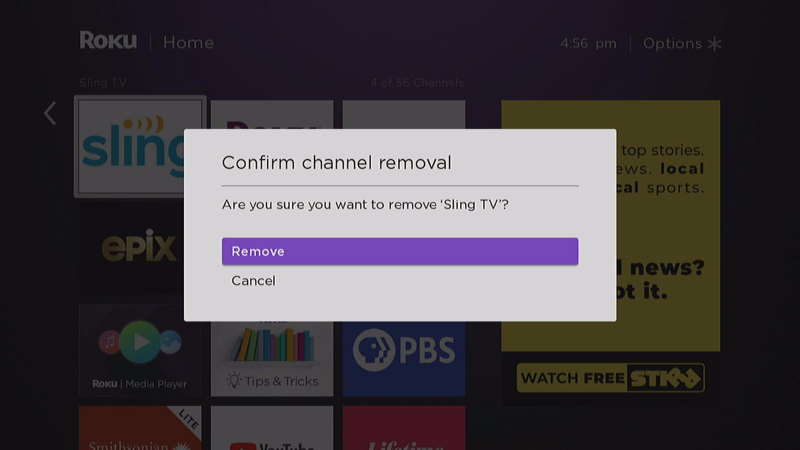
- Use the navigation pad on the remote to highlight “Remove“. Press “OK” to make the selection.
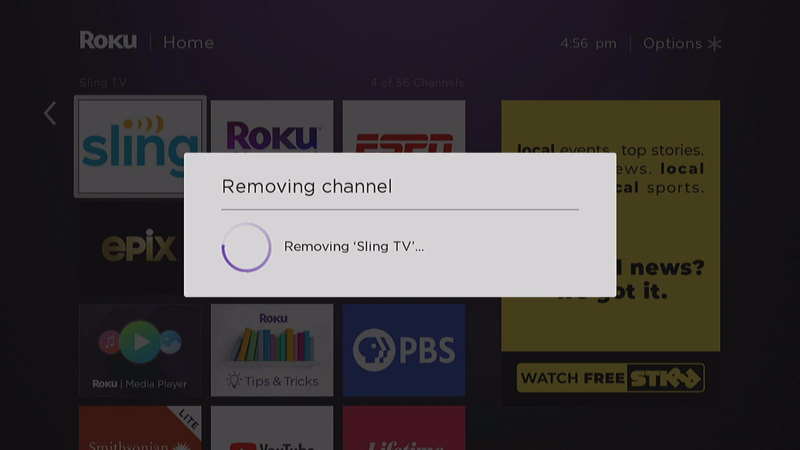
The channel should now be completely removed from your Roku device.
I hope this guide has helped you successfully add and delete channels on the Roku. Let us know how it worked out for you in the comments section below.
This post applies to Roku Ultra, Express, Streaming Stick, Streambar and Roku TV integrated Insignia, Philips, Hitachi, Sharp, and TCL models.