I love the interface of the Roku. It’s so simple to use. I wanted to Connect my Roku box to a computer so that I could watch the content within the window on my computer. I know that may be strange to some folks, but navigating to the different video content providers is a much clunkier experience in a browser. It also helps to have it available to grab screenshots from the Roku.
Before proceeding, I must say that connecting a Roku to a computer required more work and more hardware than I expected. It may not be worth it for you, but in the spirit of seeking a solution for this website, I made it work.
What You’ll Need
- A computer that supports a video capture card
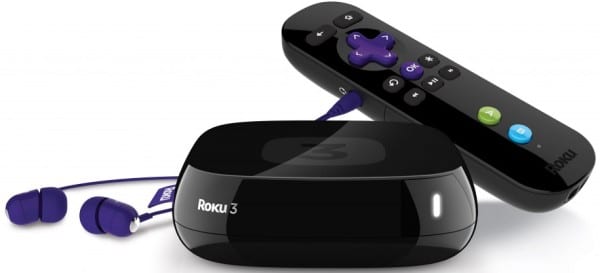
- Roku box or Roku Stick with HDMI port
- Video Capture Card
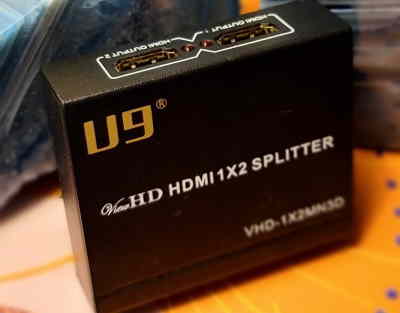
- View HD 2 Port Mini Splitter
- 3 Standard HDMI Cables (May be included with your device. 1 not required for Roku Stick)
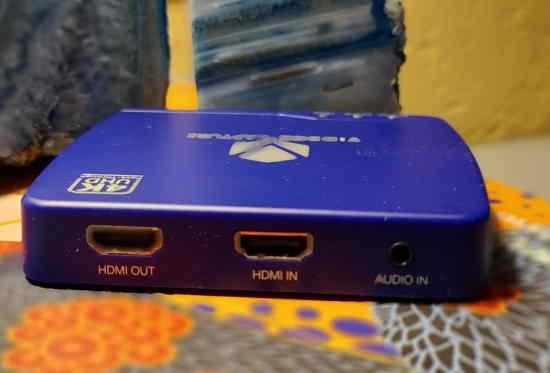
Of course, you can use any capture device you like. While the Vidbox Game Capture device is made to stream video game content, it works just fine for my needs with connecting the Roku to a PC. The splitter is needed to allow the connection to exist without interference from HDCP. The View HD 2 Port Mini Splitter is known to strip HDCP out of the connection. Without this splitter, the Roku will not display video on the PC because HDCP will prevent it. Read more about HDCP here.
Steps
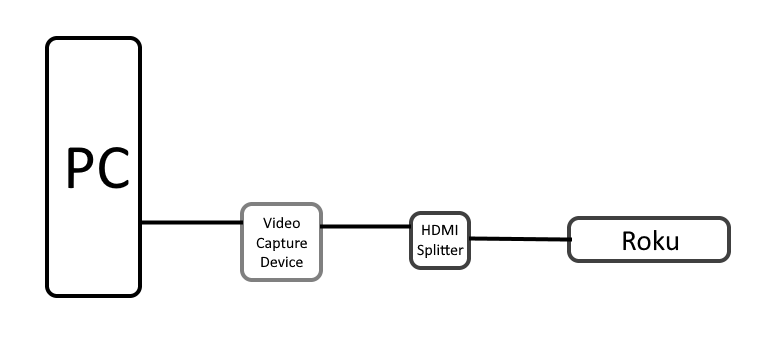
Once you have all of the proper hardware, proceed with these steps.
- Connect the video capture device to a power source.
- Connect the video capture device to your computer. Install any needed software included with the capture device if required.
- Connect the View HD 2 Port Mini Splitter to a power source.
- Connect the Roku device to the HDMI Input port on the View HD 2 Port Mini Splitter using a standard HDMI cable.
- Connect the capture card to the HDMI Output port on the View HD 2 Port Mini Splitter.
Note: Only one output port needs to be used on the splitter, but feel free to run it to a TV or another device if you wish to use the Roku with another device.
- Fire up the video capture software, and you should be able to use the Roku within a window on your PC.

The Roku displayed in a VIDBOX Capture software window.