The Amazon Fire TV is an impressive piece of hardware. It works fast to deliver content to your living room. But is it working as fast as it could? It is likely that your Internet service provider doesn’t have the fastest DNS servers. Users often report many of their problems with slow or choppy performance is instantly solved once they started using Google Public DNS.
Improve your performance by configuring your Fire TV with Google Public DNS using this guide.
Configuring Fire TV with Google Public DNS
To configure Google Public DNS directly on your Fire TV:
- Press the Home button on the remote to get to the Home screen.
- Go to Settings ⚙️> My Fire TV, Device, or System > About > Network. Write down or take a picture of the screen. We will need this information later.
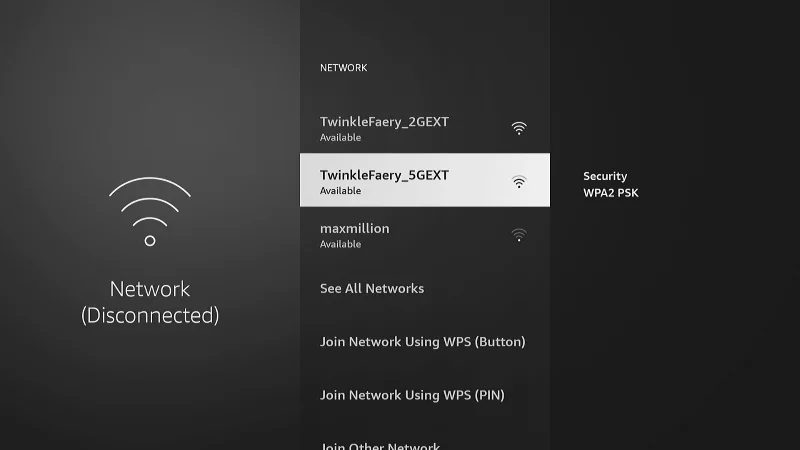
- Go back to Settings ⚙️ and select Network.
- If you are connected to the network you will be using, highlight it then press ☰ to forget it.
- Select the network name you want to use.
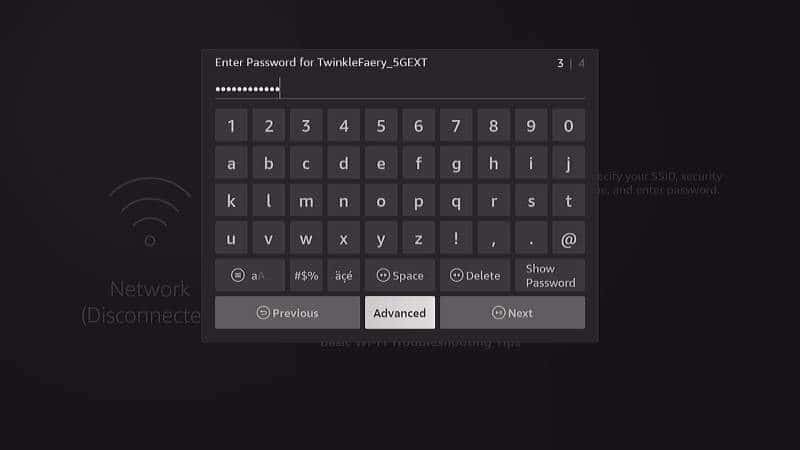
- Type the password to the network. Don’t select “Next”. Instead, select “Advanced“.
- Manually type the static IP Address that you viewed in step 2, then select “Next“.

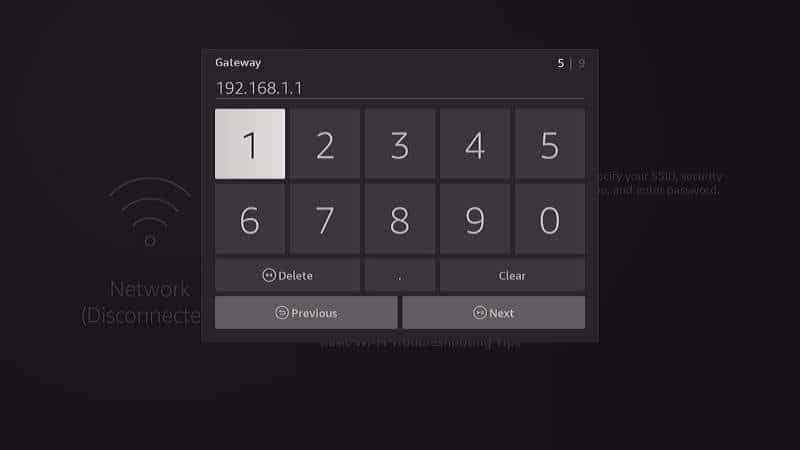
- Type the address for the Gateway from step 2, then select “Next“.
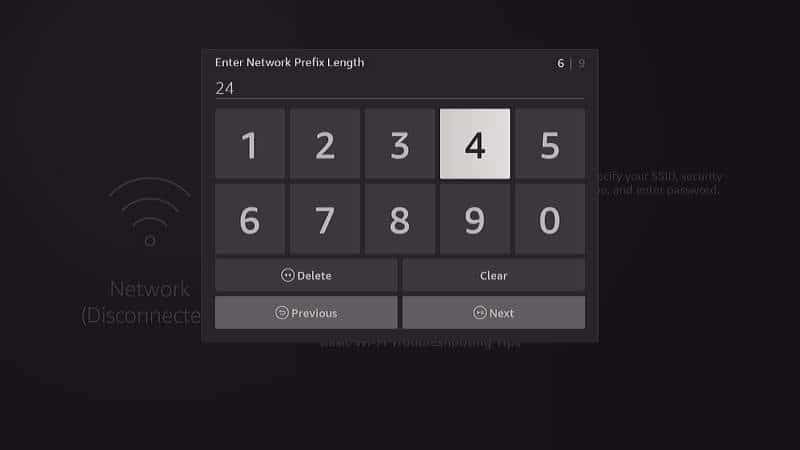
- Type the Network Prefix Length, then select “Next“. This value is for your Subnet Mask. If yours is 255.255.255.0, type 24 if. For other values, use an IP Subnet calculator to find the value for this.
- Type 8.8.8.8 for the first DNS server, then select “Next“.

- Type 8.8.4.4 for the second DNS server, then select “Next“.

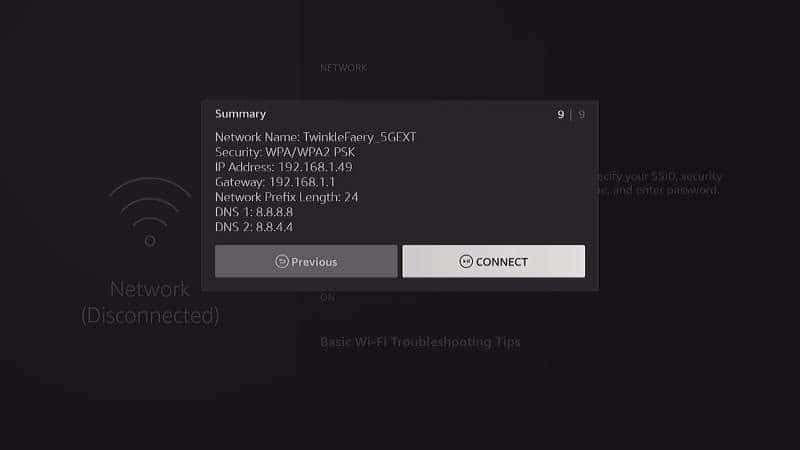
- Review the information. If it looks good, select “Connect“. If not, select “Previous” to get to the screen to make the correction.
Setting Google Public DNS on Your Router
It’s wise to use Google Public DNS not just for your Fire TV, but for all of your devices. To do this, you can set the DNS settings of your home router to use Google Public DNS.
To accomplish this, you’ll need to be familiar with how to access your router. You can usually do so via a phone app or from a desktop web browser. The address you use is usually the same as your gateway (Usually 192.168.1.1). If you type that in your browser you might get to a login page where you can type a password and access the settings. Look to the documentation for your router to learn how.
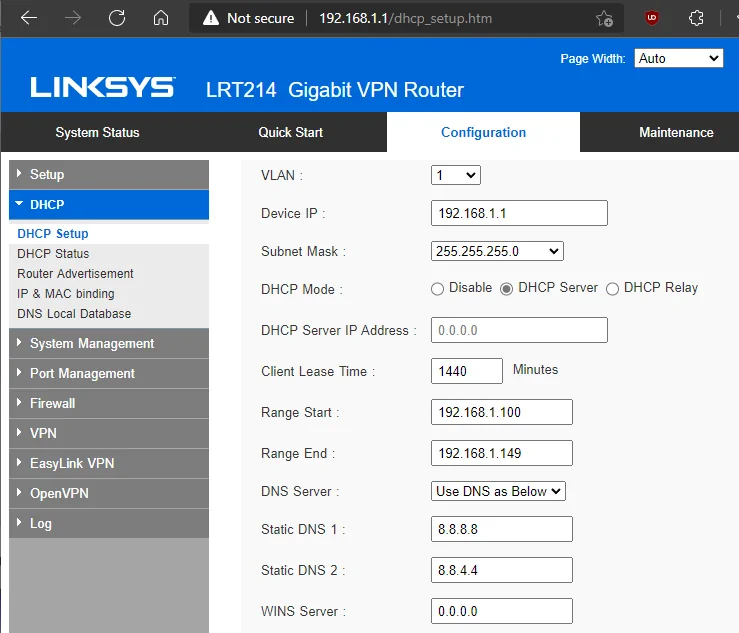
Mine is a Linksys router and was under Configuration > DHCP.
Once you find the DNS setting on your router, set the values to:
- 8.8.8.8
- 8.8.4.4
Or if you use IPv6:
- 2001:4860:4860::8888
- 2001:4860:4860::8844