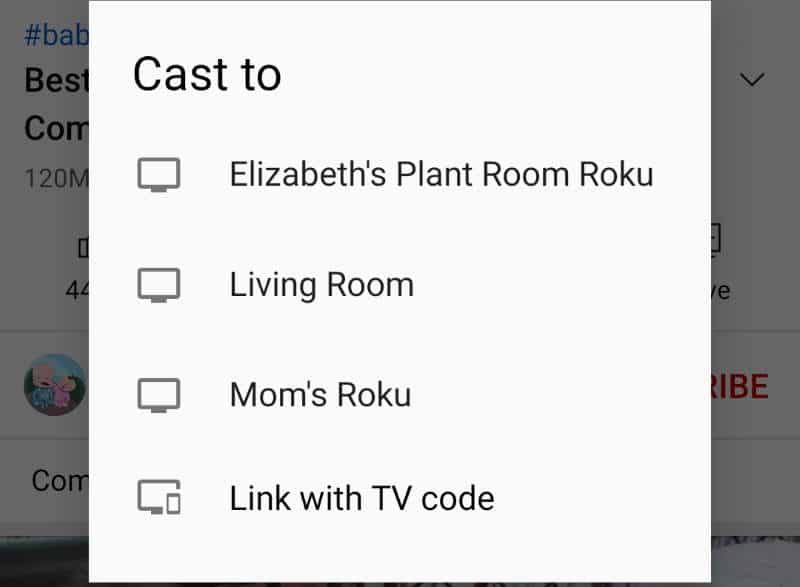
If you’re connecting to a Roku over the network, you may want to have it labeled a different name. You might go looking for the setting in your Roku menus. But you won’t find it there. There is no way to change the name of your Roku from the actual device. However, you can change the name of your Roku device from the Roku website, or the Roku mobile app. In this guide, we will show you the steps for each method.
Change Name from Roku Website
- From any browser, login to the Roku Website at https://my.roku.com/.
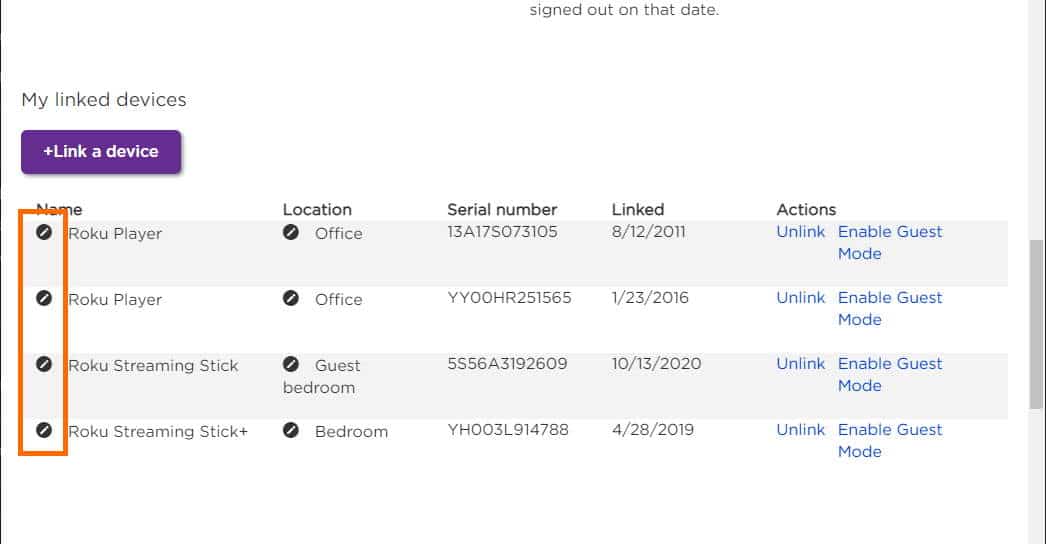
- Scroll down to the “My linked devices” section. Select the 🖊️ in the Name column next to the device you wish to rename.
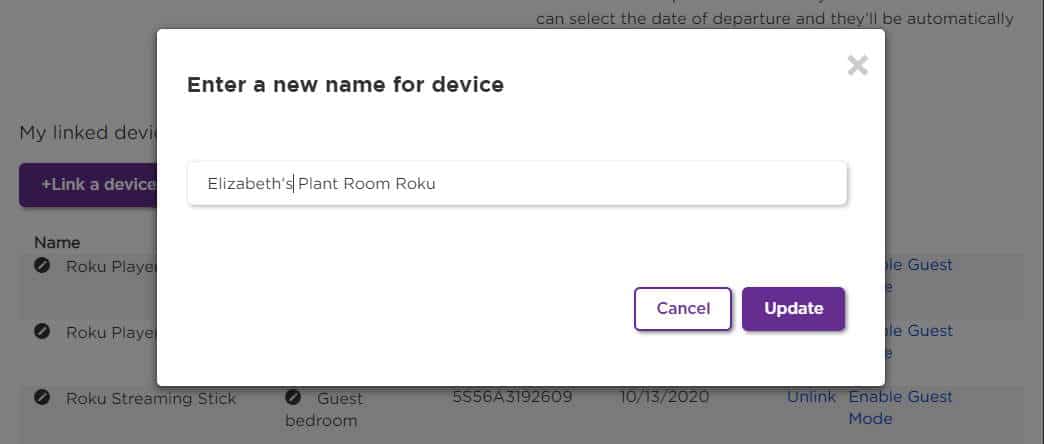
- Type a new name in the field, then select “Update” when finished.
That’s all there is to it. Your Roku device has now been renamed.
Note: If you have a problem with this screen where the name is not updating, be sure to disable any adblocking software you may have running in your browser.
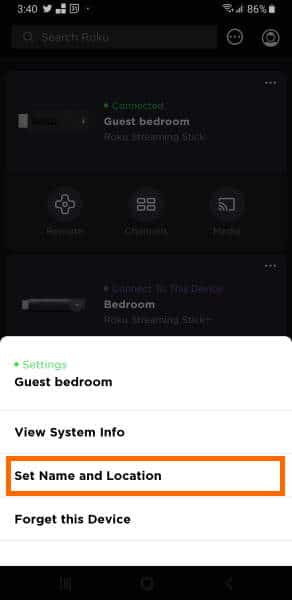
Change Name from Roku App
- Download and install the Roku app. The Roku app is available for Android and iOS devices.
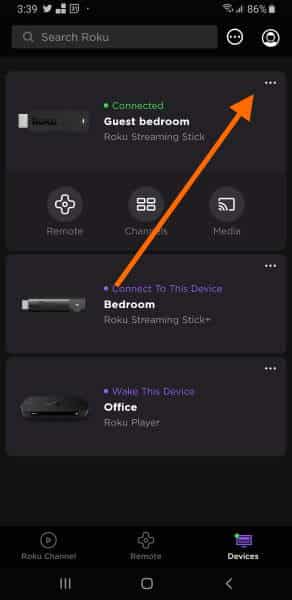
- Open the Roku app and select “Devices” at the bottom of the screen.
- Select ⋯ next to the Roku in the list you wish to rename.
- Choose “Set Name and Location“.
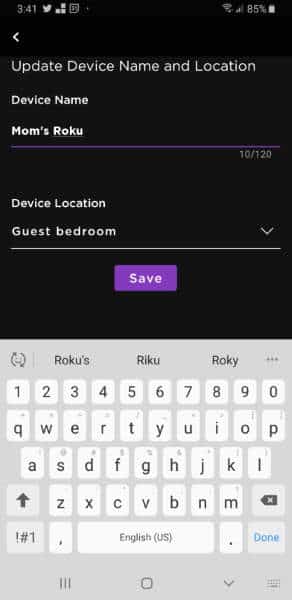
Note: If this option is grayed out, check to ensure that Roku is online and on the same network as the device from which you are using the Roku app.
- If prompted, login to your Roku account.
- Type a new name in the “Device Name” field. Tap “Save” when done.
There you have it! You have changed the name of your Roku from the app.
These steps are compatible with Roku streaming devices and TCL Roku TV models.